How to Integrate Chaos Engineering into Your CI/CD Pipeline
Chaos engineering is a technique for anticipating and fixing potential problems before they occur. Unlike traditional chaos engineering practices, applying these techniques to CI/CD pipelines requires testing the integration and deployment processes rather than just the application itself.
Why Integrate Chaos Engineering into CI/CD?
This approach introduces resilience testing earlier in the development lifecycle, allowing you to detect and mitigate vulnerabilities proactively. Just as unit tests identify problems at the code level, chaos experiments provide a thorough quality assurance procedure that identifies faults at the system level.
Implementing chaos experiments in the CI/CD pipeline offers several key benefits like:
- Early Issue Detection: Simulating failures in the CI/CD pipeline helps teams find weaknesses before they cause problems in production, allowing for early fixes.
- Improved Pipeline Reliability: Regular chaos testing builds stronger, more reliable CI/CD pipelines, reducing the chances of deployment failures and downtime.
- Enhanced Recovery Processes: Chaos experiments help teams refine their incident response procedures, leading to quicker issue resolution and better understanding of system behavior.
- Increased Confidence in Deployments: A more resilient pipeline boosts team confidence in delivering software, resulting in more frequent and successful deployments and faster delivery of new features.

Integrating Chaos Engineering into your CI/CD pipeline transforms reliability into a continuous, proactive process rather than a reactive one. This approach empowers your team to create software that exceeds expectations, performing reliably under pressure.
Getting Started with Chaos Engineering in CI/CD
By breaking it down into manageable steps, you can gradually introduce controlled chaos into your pipeline, enhancing your system’s resilience over time. Here are the things you can do to get started:
Define Your Chaos Monkey
The first step is to identify the types of failures you want to simulate. The concept of a “Chaos Monkey” originates from Netflix’s approach to testing system resilience. In essence, it’s about identifying and simulating potential failures that could impact your system. When defining your Chaos Monkey, consider the following:
- System Components: List out all critical components of your system (databases, microservices, caching layers, etc.).
- Failure Modes: For each component, brainstorm potential failure scenarios:
- Network issues: Latency, packet loss, DNS failures
- Resource constraints: CPU spikes, memory leaks, disk space exhaustion
- Dependency failures: Third-party service outages, API rate limiting
- State-related issues: Data corruption, inconsistent data across services
- Infrastructure problems: Instance termination, zone outages
- Impact Assessment: Evaluate the potential impact of each failure mode on your system and prioritize based on likelihood and severity.
- Metrics and Observability: Identify key metrics and logs you’ll need to monitor during chaos experiments to understand system behavior.
Start small with one or two failure modes, then expand as you gain confidence. For example, you might begin by simulating network latency, as it’s a common issue that can significantly impact user experience.
Choose Your Chaos Engineering Tool
There are many off-the-shelf tools available for Chaos Engineering, for example:
Gremlin
- Pros: User-friendly UI, wide range of failure injections, strong safety features
- Cons: Commercial product, may be costly for smaller teams
- Best for: Teams new to Chaos Engineering, enterprises with complex infrastructures
Germlin give you a very easy interface to run your chaos experiments, You can use python scripts along with germlin SDKs to run your experiments with ease. For example you can use the following python script to simulate a BlackholeAttack attack on Kubernetes deployment. A BlackholeAttack is a type of chaos engineering technique that blocks all inbound and outbound network traffic to a target, effectively making it appear offline by dropping IP packets at the transport layer.
from gremlinapi.kubernetes import GremlinAPIKubernetesAttacks as k8s_attacks
from kubernetes_attack_helpers import GremlinKubernetesAttackTarget, GremlinKubernetesAttackTargetHelper, GremlinKubernetesAttackHelper
from gremlinapi.attack_helpers import GremlinBlackholeAttack

# Set the API key and team ID for authentication
config.api_key = <API_KEY>
config.team_id = <TEAM_ID>

# Create a new Kubernetes attack
k8s_attacks.new_kubernetes_attack(
    body = GremlinKubernetesAttackHelper(
        command = GremlinBlackholeAttack(), # Specify the type of attack to perform (in this case, a blackhole attack)
        target = GremlinKubernetesAttackTargetHelper(
            targets = [
                GremlinKubernetesAttackTarget(
                    cluster_id = "<CLUSTER_ID>",
                    namespace = "<NAMESPACE>",
                    kind = "DEPLOYMENT",
                    name = "<deployment_name>
                )
            ],
            percentage = 50 # Set the percentage of target replicas to be affected by the attack
        )
    )
)LitmusChaos:
- Pros: Open-source, Kubernetes-native, extensive experiment catalog
- Cons: Steeper learning curve, primarily focused on Kubernetes
- Best for: Teams using Kubernetes, those preferring open-source solutions. For more information you can visit LitmusChaos website
Chaos Monkey (Netflix):
- Pros: Battle-tested, focuses on instance termination
- Cons: Limited scope, requires more setup and customization
- Best for: Teams using AWS, those wanting to start with basic instance failure testing. To learn more, visit the Chaos Monkey GitHub repository.
ChaosBlade:
- Pros: Supports multiple platforms (K8s, Docker, physical machines), extensible
- Cons: Less mature ecosystem compared to some alternatives
- Best for: Teams wanting flexibility across different environments. Visit ChaosBlade official website for more information
Chaos Mesh:
- Pros: Open-source, Kubernetes-native, rich set of chaos experiments, intuitive UI
- Cons: Primarily focused on Kubernetes environments
- Best for: Teams heavily invested in Kubernetes, looking for a comprehensive and user-friendly chaos engineering platform. To learn more, visit the Chaos Mesh GitHub repository or official website.
Integrate chaos engineering in your pipeline
Here’s a guide on how to integrate Chaos Mesh into your GitHub Actions workflow using chaos-mesh-action
Step 1: Design Your Workflow
Before diving into the implementation, consider the following questions:
- What features do you want to test?
- What type of faults will you inject?
- How will you verify system correctness?
For example, you might design a workflow that:
- Creates two Pods in a Kubernetes cluster.
- Sends a ping request from one Pod to another.
- Injects network latency to see if the ping command is affected.
In the example above, you are testing the resilience of inter-Pod communication under adverse conditions. By introducing network latency, you can observe how the system handles delays and whether it can still maintain connectivity between the Pods.
If this test fails, indicating that the ping command is unable to reach the target Pod or experiences excessive delays, you should investigate the underlying causes. This may involve checking network configurations, reviewing service discovery mechanisms, or examining the health of the involved Pods. Addressing any identified issues will help improve the system’s robustness against real-world network conditions.
Step 2: Create Your Workflow
Now, let’s create your GitHub Actions workflow.
- Access Your GitHub Repository: Navigate to your repository on GitHub.
- Create a New Workflow:
- Click on Actions.
- Select New workflow.

Here’s a sample configuration for your workflow file (e.g .github/workflows/main.yml )
name: Chaos Enginnering

on:
  push:
    branches:
      - master
  pull_request:
    branches:
      - master

jobs:
  build:
    runs-on: ubuntu-latest
    steps:
      - name: Creating kind cluster
        uses: helm/kind-action@v1.0.0-rc.1

      - name: Print cluster information
        run: |
          kubectl config view
          kubectl cluster-info
          kubectl get nodes
          kubectl get pods -n kube-system
          helm version
          kubectl version

      - uses: actions/checkout@v2

      - name: Deploy an application
        run: |
          kubectl apply -f https://raw.githubusercontent.com/chaos-mesh/apps/master/ping/busybox-statefulset.yaml

      - name: Run chaos mesh action
        uses: chaos-mesh/chaos-mesh-action@v0.5
        env:
          CHAOS_MESH_VERSION: v1.0.0
          CFG_BASE64: <YOUR_BASE64_ENCODED_CONFIG>

      - name: Verify
        run: |
          echo "Verifying network latency"
          kubectl exec busybox-0 -it -n busybox -- ping -c 30 busybox-1.busybox.busybox.svc
The above workflow is designed specifically to test the resilience of applications running in a Kubernetes cluster by injecting faults and verifying their impact. It triggers on pushes or pull requests to the master branch.
Here is the breakdown of things we are doing in above workflow
Workflow Name and Triggers
textname: Chaos Engineering

on:
  push:
    branches:
      - master
  pull_request:
    branches:
- master- name: This sets the name of the workflow to “Chaos Engineering”.
- on: Specifies the events that trigger the workflow. In this case, it runs when there is a push to the
masterbranch or when a pull request is created targeting themasterbranch.
Jobs Section
textjobs:
  build:
runs-on: ubuntu-latest- jobs: Defines a collection of jobs that will run as part of the workflow.
- build: This is the name of the job.
- runs-on: Specifies the environment in which the job runs. Here, it uses the latest version of Ubuntu.
Steps Section
Each job consists of a series of steps that are executed sequentially.
1. Creating a Kind Cluster
text- name: Creating kind cluster
uses: helm/kind-action@v1.0.0-rc.1- name: A descriptive name for the step.
- uses: This step uses the
kind-actionfrom Helm to create a Kubernetes cluster using Kind (Kubernetes in Docker). For more information, you can visit the kind-action GitHub repository.
2. Print Cluster Information
text- name: Print cluster information
  run: |
    kubectl config view
    kubectl cluster-info
    kubectl get nodes
    kubectl get pods -n kube-system
    helm version
kubectl version- run: Executes a series of shell commands to gather and display information about the Kubernetes cluster. This includes:
- Viewing the Kubernetes configuration.
- Displaying cluster information, including nodes and pods in the
kube-systemnamespace. - Checking the versions of Helm and Kubernetes.
3. Checkout Repository
text- uses: actions/checkout@v2This step checks out the repository code so that subsequent steps can access it. It’s essential for any workflow that needs to work with the repository files
4. Deploy an Application
text- name: Deploy an application
  run: |
    kubectl apply -f https://raw.githubusercontent.com/chaos-mesh/apps/master/ping/busybox-statefulset.yaml
This step deploys an application (in this case, a BusyBox StatefulSet) to the Kubernetes cluster by applying a YAML configuration file from a remote URL. This sets up the necessary Pods for testing.
5. Run Chaos Mesh Action
text- name: Run chaos mesh action
  uses: chaos-mesh/chaos-mesh-action@v0.5
  env:
    CHAOS_MESH_VERSION: v1.0.0
CFG_BASE64: <YOUR_BASE64_ENCODED_CONFIG>- This step uses the
chaos-mesh-actionto inject faults into the application. - env: Sets environment variables for the action:
CHAOS_MESH_VERSION: Specifies the version of Chaos Mesh to use.CFG_BASE64: This should be replaced with the base64-encoded configuration for the chaos experiment (e.g., network latency).
You can easily install Chaos Mesh and automatically inject faults into your application. All you need to do is prepare the chaos experiment configuration and encode it in base64. For example, if you want to introduce network latency to a Pod, you can use the following configuration setup:
apiVersion: chaos-mesh.org/v1alpha1
kind: NetworkChaos
metadata:
  name: network-delay
  namespace: busybox
spec:
  action: delay # the specific chaos action to inject
  mode: all
  selector:
    pods:
      busybox:
        - busybox-0
  delay:
    latency: '10ms'
  duration: '5s'
  scheduler:
    cron: '@every 10s'
  direction: to
  target:
    selector:
      pods:
        busybox:
          - busybox-1
    mode: all
Encode the Configuration
Use the following command to get the base64-encoded value:
bashbase64 chaos.yamlReplace <YOUR_BASE64_ENCODED_CONFIG> in the workflow with the output from the command above.
6. Verify
text- name: Verify
  run: |
    echo "Verifying network latency"
kubectl exec busybox-0 -it -n busybox -- ping -c 30 busybox-1.busybox.busybox.svc- This final step verifies the impact of the injected chaos by sending ping requests from one BusyBox Pod (
busybox-0) to another (busybox-1). - The output will show whether the network latency is affecting the communication between the Pods.
Step 3: Run Your Workflow
After setting up the workflow, trigger it by creating a pull request to the master branch. Once the workflow runs, you’ll see output similar to this:
textVerifying network latency
PING busybox-1.busybox.busybox.svc (10.244.0.6): 56 data bytes
64 bytes from 10.244.0.6: seq=0 ttl=63 time=0.069 ms
64 bytes from 10.244.0.6: seq=1 ttl=63 time=10.136 ms
...
This output confirms that the injected network latency is functioning as expected, allowing you to validate your system’s resilience under failure conditions.
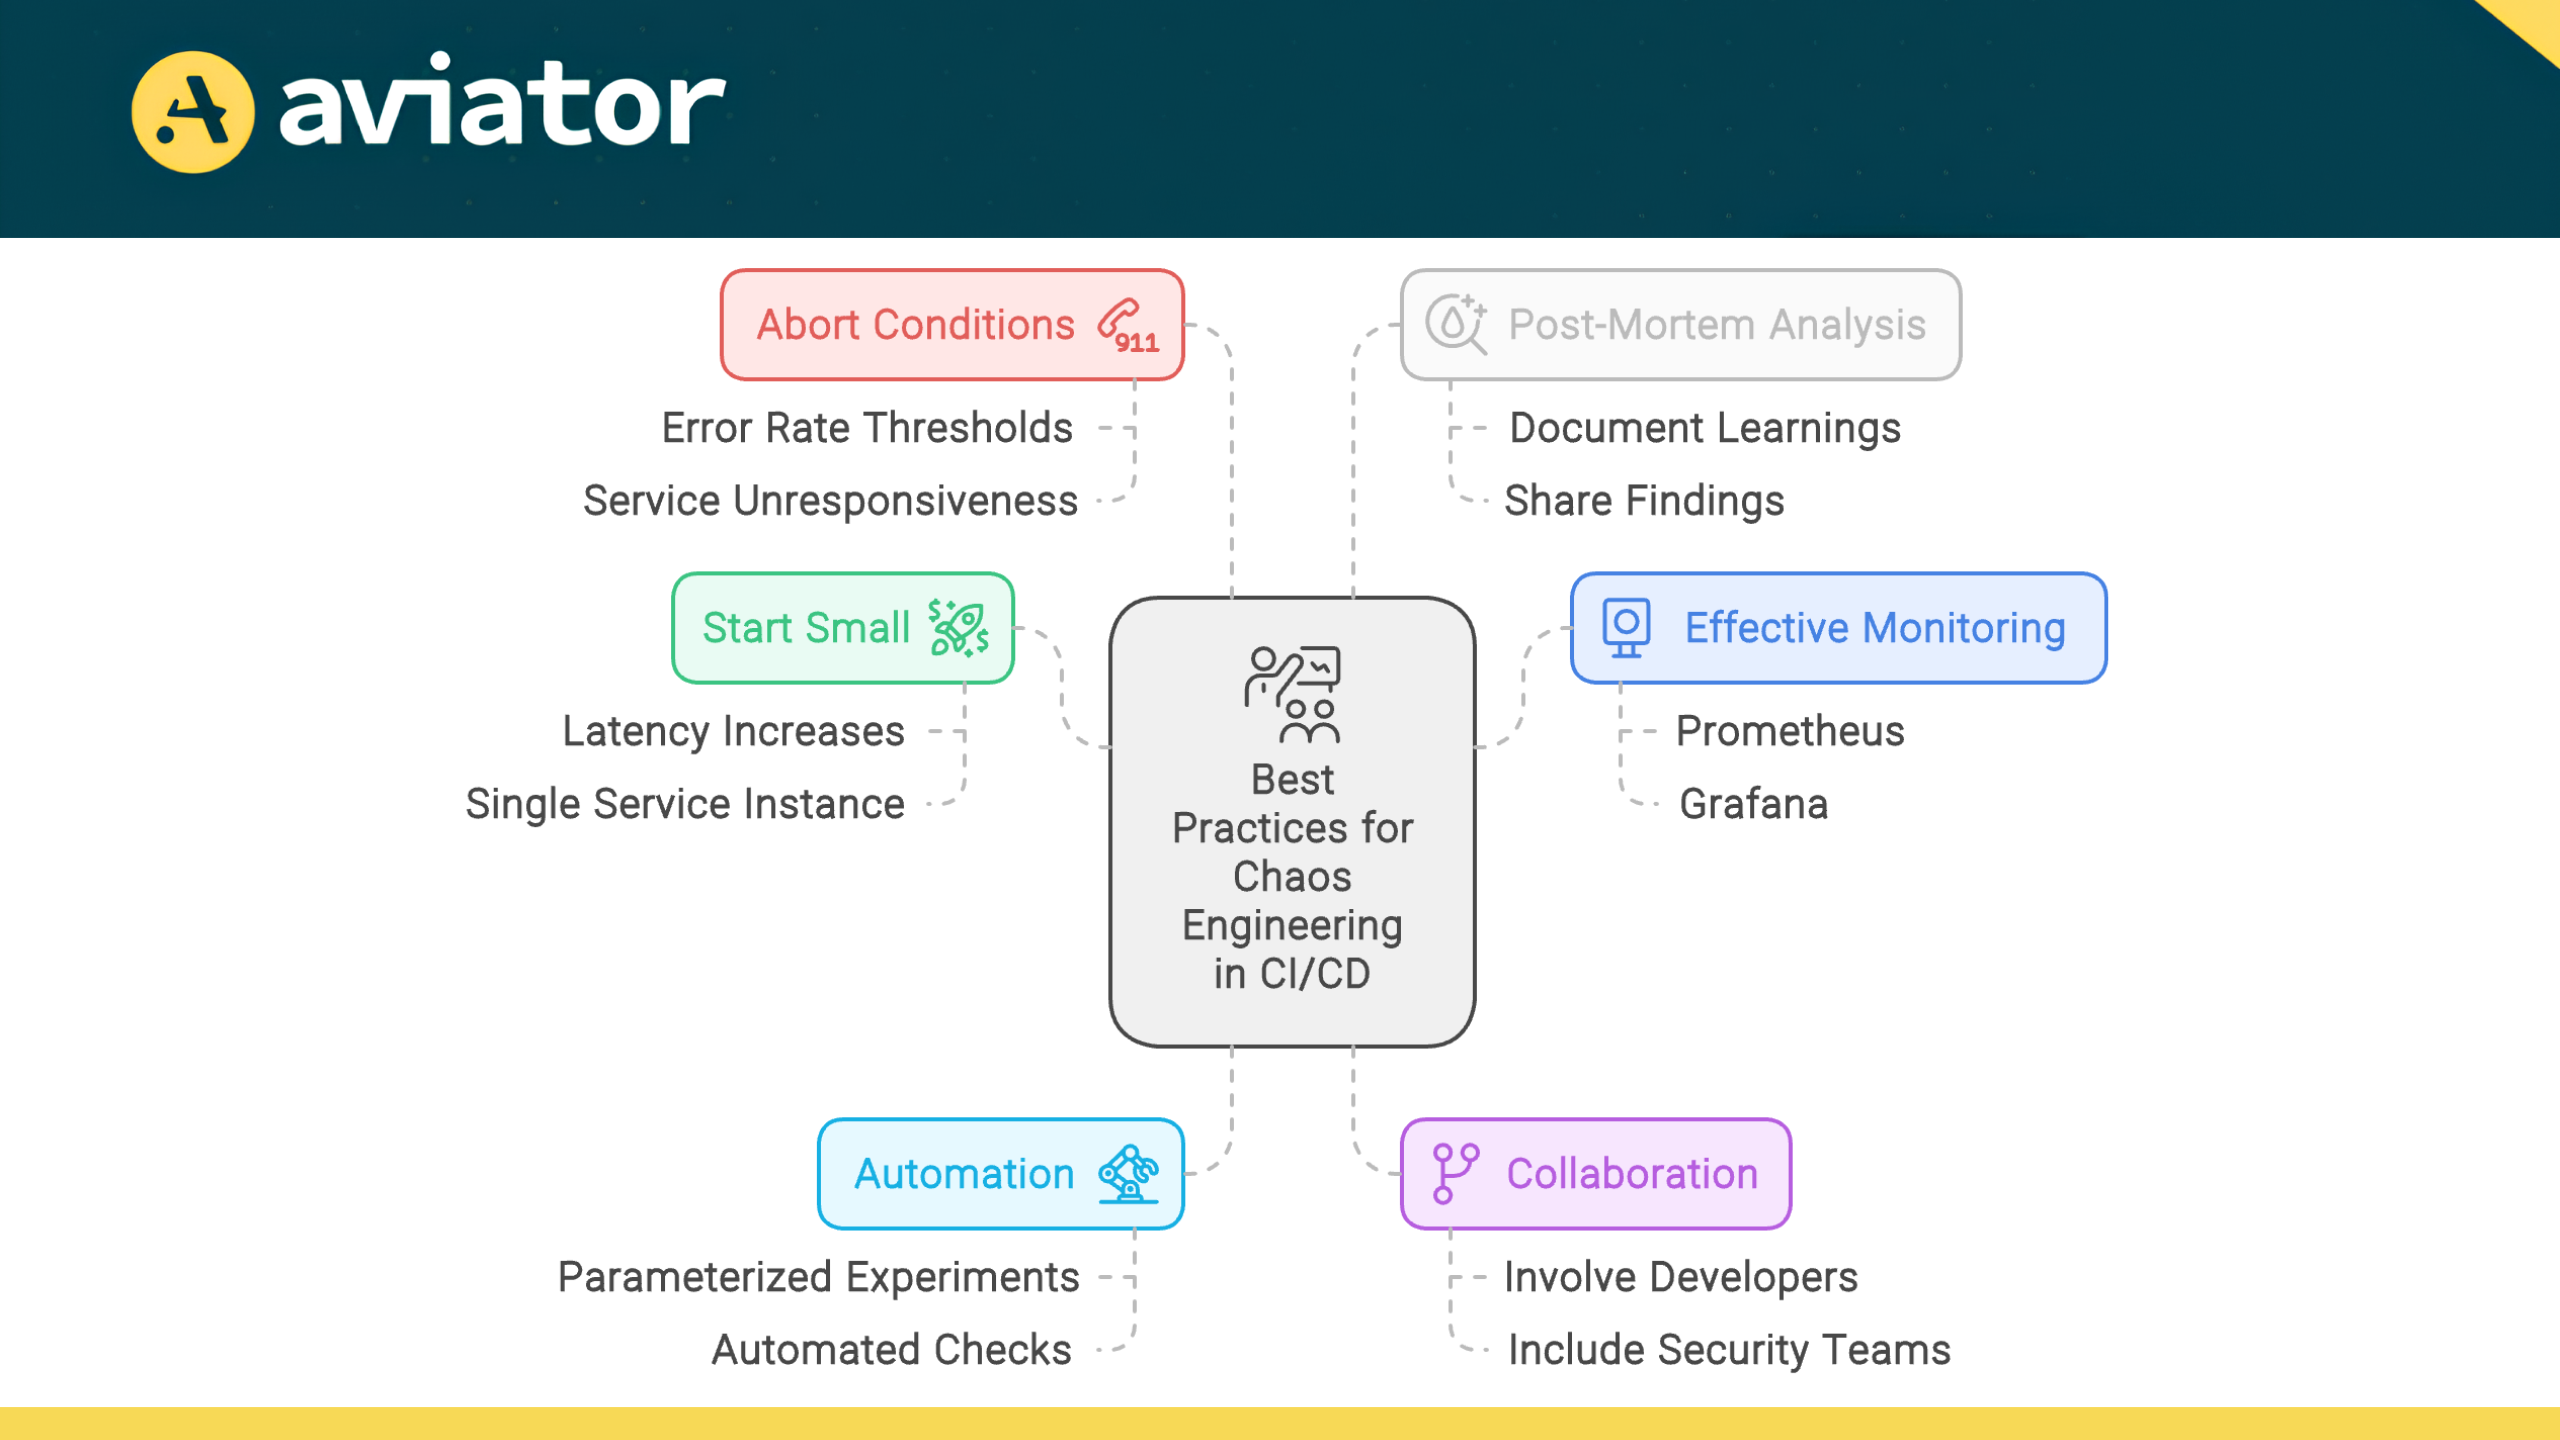
Best Practices for Successful Chaos Engineering in CI/CD
Start Small and Scale Up
Begin your Chaos Engineering journey with simple, low-risk experiments. Focus on injecting minor failures that are easy to control and recover from, such as slight latency increases or the failure of a single non-critical service instance. As your team gains confidence and experience, gradually increase the complexity and scope of your experiments. This approach allows you to build expertise, refine your processes, and accumulate small wins that demonstrate the value of Chaos Engineering to stakeholders.
Monitor System Behavior
Effective monitoring is crucial for deriving actionable insights from chaos experiments. Implement comprehensive observability across your entire stack, including application performance, infrastructure metrics, and user experience indicators. Use tools like Prometheus, Grafana, or cloud-native monitoring solutions to track key metrics during experiments.
Pay special attention to error rates, latency, resource utilization, and business KPIs. Analyze these metrics to identify weaknesses in your system’s resilience and prioritize improvements.
Automate Chaos Experiments
Automation reduces the risk of human error and ensures that chaos testing becomes a regular, non-negotiable part of your development process. It is recommended to run these experiments on each commit to the main branch, as well as during scheduled releases, to catch potential issues early and often.
Create parameterized chaos experiments that can be easily configured and executed as part of your pipeline. Include automated checks to verify that your system behaves as expected under chaos conditions before promoting builds to production.
Collaborate Across Teams
Chaos Engineering is not solely the responsibility of SREs or operations teams. Foster a culture of collaboration between development, operations, and security teams.
Encourage developers to participate in designing and analyzing chaos experiments, helping them understand the real-world implications of their design decisions. Involve security teams to ensure that chaos experiments don’t inadvertently create vulnerabilities.
Regular cross-team chaos engineering reviews can lead to shared insights, improved system understanding, and more resilient architectures.
Define Clear Abort Conditions
Always have predefined abort conditions for your chaos experiments. These are specific thresholds that, when breached, trigger an immediate halt to the experiment.
For example, if error rates exceed 5% or if a critical service becomes completely unresponsive for more than 30 seconds, the experiment should automatically terminate. Tune these parameters based on your SLA needs.
Document and Share Learnings
Conduct a post-mortem analysis after each experiment. Document what worked, what didn’t, and any unexpected behaviors observed. Share these findings widely within your organization. This knowledge sharing helps spread awareness about system vulnerabilities, successful mitigation strategies, and the overall value of Chaos Engineering. Consider maintaining a centralized “Chaos Knowledge Base” that teams can reference when designing new services or troubleshooting issues.
By adhering to these best practices, you’ll be well-positioned to derive maximum value from Chaos Engineering while minimizing risks. Remember, the goal is not just to break things, but to build a more resilient, reliable system that can withstand real-world turbulence.
Advanced Chaos Engineering Techniques
As your Chaos Engineering practice matures, you can explore more sophisticated techniques to further enhance your system’s resilience. These advanced approaches will help you uncover subtle vulnerabilities and prepare for complex, real-world failure scenarios.
Chaos Scenario Orchestration
Moving beyond single-point failures, chaos scenario orchestration involves creating and executing complex, multi-faceted failure scenarios. These scenarios simulate cascading failures or concurrent issues across multiple system components, providing a more comprehensive test of your system’s resilience.
For example, you might orchestrate a scenario where:
- A sudden traffic spike occurs
- Followed by increased latency in your database
- While simultaneously simulating an outage in a critical third-party service
To implement this:
- Use tools like Chaos Toolkit or Netflix’s ChAP (Chaos Automation Platform) that support multi-step experiment definitions.
- Create a library of reusable chaos actions that can be combined into complex scenarios.
- Gradually increase scenario complexity, starting with two related failures and building up to more intricate combinations.
- Always ensure you have a clear rollback plan for each step in your orchestrated scenario.
Data-Driven Chaos Engineering
Leverage historical data and system insights to design more targeted and effective chaos experiments. This approach helps focus your efforts on the most likely or impactful failure modes.
Key steps in data-driven Chaos Engineering:
- Analyze past incidents and near-misses to identify common failure patterns.
- Use monitoring data to pinpoint system bottlenecks or components prone to issues.
- Incorporate load testing data to understand system behavior under stress.
- Design experiments that specifically target these identified weak points or replicate past incident conditions.
For instance, if your data shows that your recommendation service often struggles during peak hours, design experiments that combine high load with specific failures in that service.
Chaos Engineering for Microservices
The distributed nature of microservices increases the potential for complex failure modes, making thorough chaos testing crucial.
When applying Chaos Engineering to microservices:
- Service Discovery Chaos: Simulate failures in service discovery mechanisms to ensure your system can handle misrouted or unresolvable service requests.
- API Contract Testing: Use chaos experiments to verify that services behave correctly when receiving unexpected or malformed responses from their dependencies.
- Partial Outages: Instead of completely killing a service, degrade its performance or make it return errors for only a subset of requests. This tests the system’s ability to handle partial failures.
- Cross-Service Chaos: Design experiments that span multiple services to uncover hidden dependencies and ensure proper fallback mechanisms are in place.
- Chaos Mesh for Kubernetes: If you’re running microservices on Kubernetes, use tools like Chaos Mesh to inject network partitions, pod failures, and other Kubernetes-specific chaos.
For example you can use this Chaos Mesh configuration to introduces network delay to the payment-service, simulating degraded network conditions.
apiVersion: chaos-mesh.org/v1alpha1
kind: NetworkChaos
metadata:
  name: network-delay
spec:
  action: delay
  mode: all
  selector:
    namespaces:
      - default
    labelSelectors:
      "app": "payment-service"
  delay:
    latency: "100ms"
    correlation: "25"
    jitter: "0ms"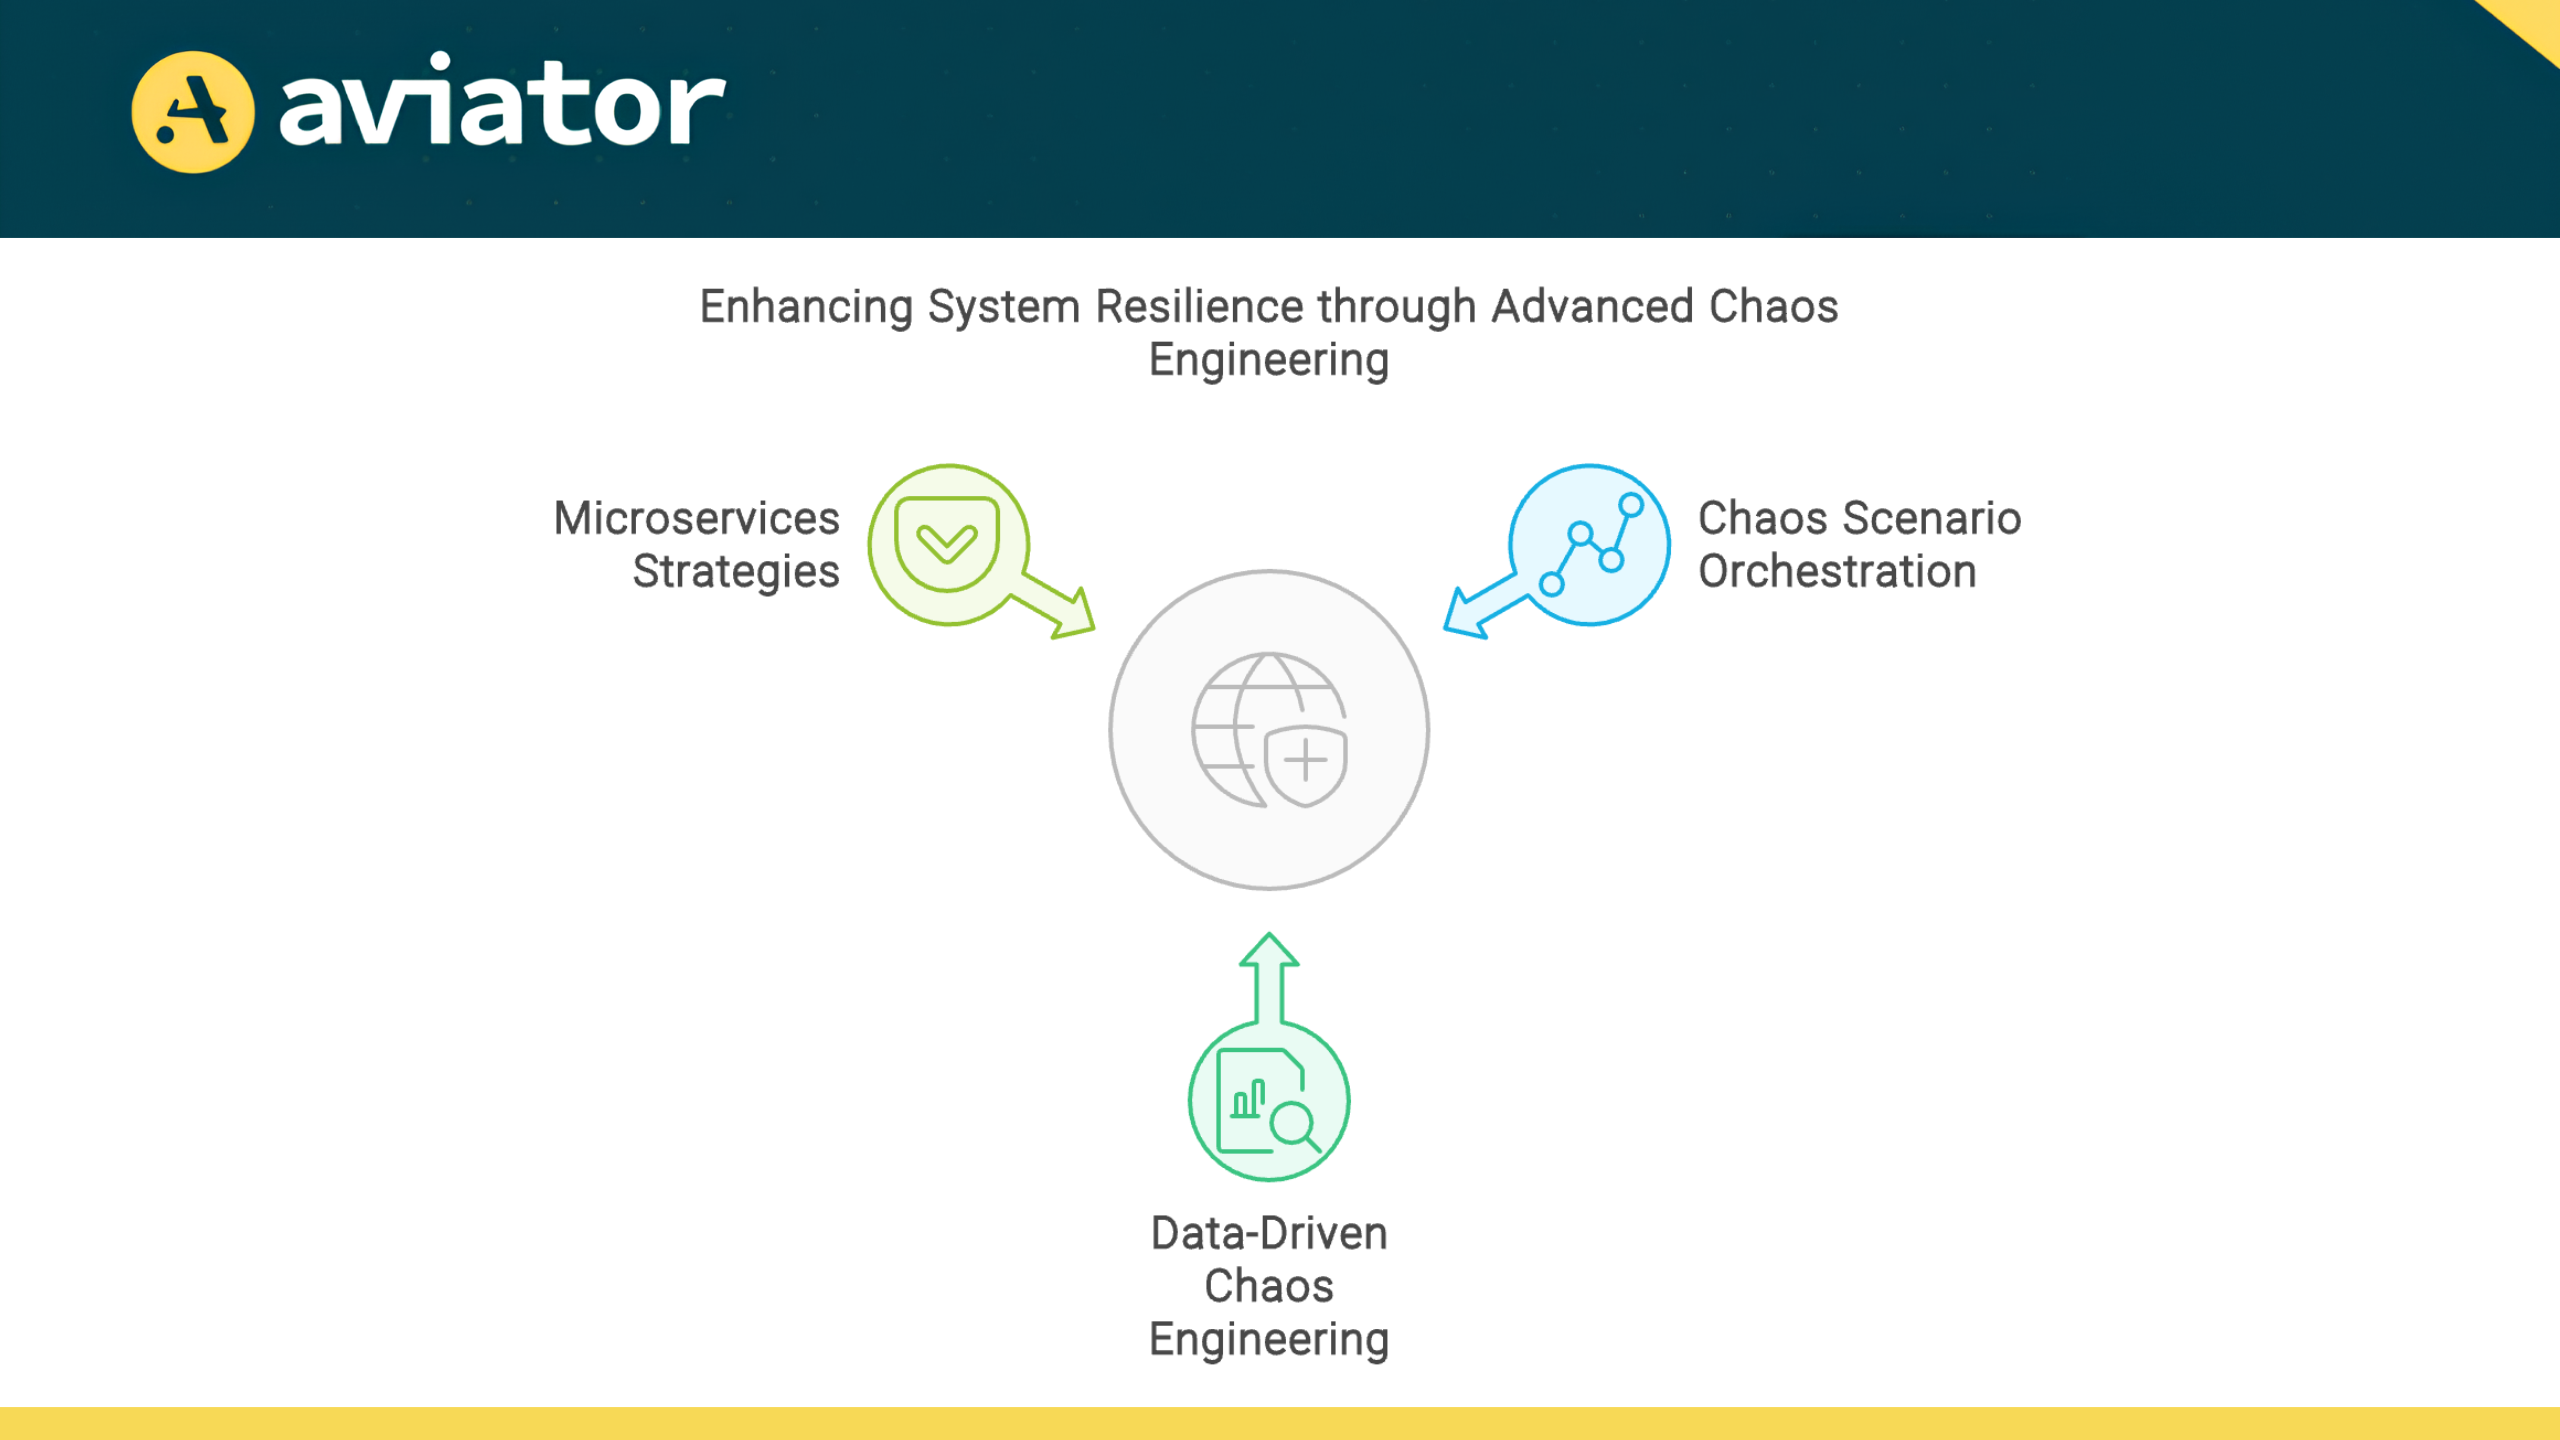
Conclusion
Integrating Chaos Engineering into CI/CD transforms system resilience. By deliberately introducing failures, teams proactively identify weaknesses, enhance incident response, and build more robust systems.
The approach is simple: define failure scenarios, select the right tools, and gradually run experiments. Start small, monitor closely, and follow best practices to see maximum benefits. The outcomes speak for themselves: reduced downtime, better performance under stress, and greater confidence in system reliability.
In today’s complex landscape, Chaos Engineering is no longer optional—it’s essential. By adopting this approach, you’re not just preventing failures; you’re cultivating a culture of resilience that will strengthen your organization for the long term.